In this guide, I delve deep into the world of Masterbuilt 800 mods, addressing many of the questions you might have.
Finding comprehensive information on these mods used to be a challenge for me too.
Drawing from my hands-on experience and extensive research on the Masterbuilt Gravity Series 800 mods, I aim to provide you with invaluable insights.
I genuinely hope this guide addresses your concerns and enhances your modding journey.
Incase you are looking for Masterbuilt 560 Mods? Check Here.
- Masterbuilt gravity series 800 mods
- Mod 1: Masterbuilt 800 Firebox mod
- Mod 2: Masterbuilt 800 Rack mod
- Mod 3: Masterbuilt 800 Vent/Damper mod
- Mod 4: Water Pan mod
- Mod 5: Masterbuilt 800 mods with Manifold Cover & Drip Catcher.
- Mod 6: Masterbuilt 800 Hopper cover mod
- # Overview of the Masterbuilt 800:
- # Can I use pellets in the Masterbuilt 800?
- # How can I mount a griddle on the Masterbuilt 800?
- # How do I reset my Masterbuilt 800?
- # What's the best way to clean the grates and griddle of my Masterbuilt 800?
Recommended Reading :
-Dive into our comprehensive guide: ‘12+ Top Modifications for Grills, Smokers, and Cookers: A Complete List.
- Incase you are looking for Masterbuilt 1050 Mods? Check Here .
- Masterbuilt Gravity Series 800 Review,
- Char Griller 980 vs Masterbuilt 800
- Masterbuilt 560 vs. 800 vs. 1050
- Guide to Cleaning Masterbuilt Gravity 800
Masterbuilt gravity series 800 mods
Mod 1: Masterbuilt 800 Firebox mod
Mastering the Masterbuilt 800 Firebox Modification Instructions:
Instruction:
- Preparation: Begin by removing the hopper cover, also known as the upper heat shield.
- Wire Detachment: Once the upper part is removed, carefully disconnect the two attached wires.
- Hopper Disassembly: Proceed to unscrew and disassemble the hopper. Ensure the gasket remains intact and in good condition during this step.
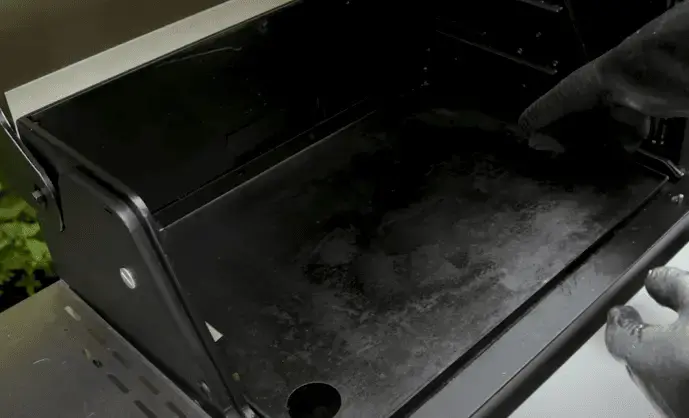
- Firebox Liner Installation: Gently insert the firebox liner. For a snug fit, you can either press down with your hand or give it a light tap with a hammer.
- Gasket Installation: Flip the hopper upside down and position the gasket. This step is crucial for ensuring a tight seal.
- Reassembly: Flip the hopper back to its original position. Begin the reassembly process by reconnecting the wires and securing the hopper.
- Essentially, you’ll be reversing the steps you took during disassembly.
Mod 2: Masterbuilt 800 Rack mod
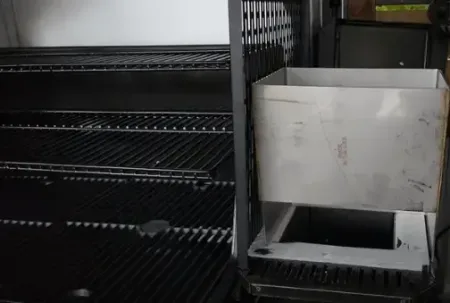
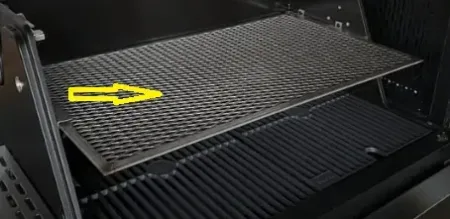
Enhancing the Masterbuilt 800 with a Larger Middle Rack In this section, I’ll guide you through the process of installing a larger middle cooking rack for your Masterbuilt 800.
Instruction:
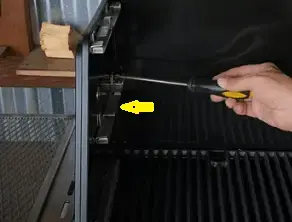
- Preparation: Start by sliding out the rack you’re currently using.
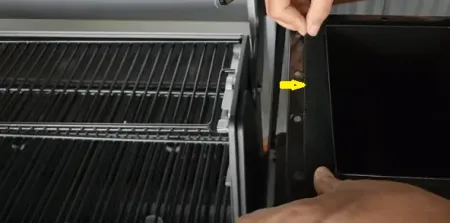
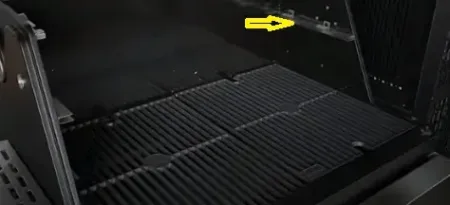
- Bracket Removal: Detach the two hardware pieces or brackets that secure the rack inside the cooking chamber.
- Rack Installation: Replace the original hardware with longer ones, using screws. Now, position your larger middle rack in place.
- Maximizing Cooking Surface: If you’re aiming to further expand the cooking surface, opt for even longer hardware. This will allow you to accommodate both a larger upper and middle rack.
Mod 3: Masterbuilt 800 Vent/Damper mod
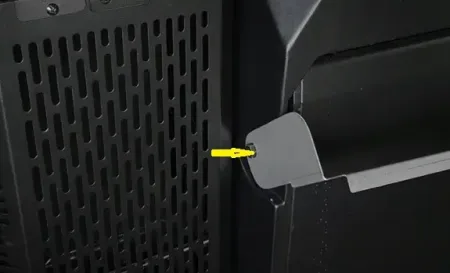
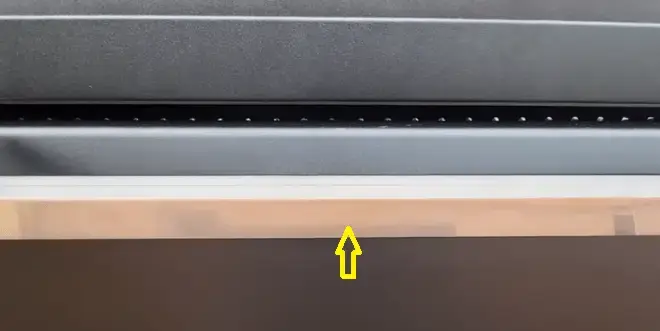
Optimizing Airflow with the Masterbuilt 800 Vent/Damper Modification In this segment, I’ll walk you through the steps to modify the vent/damper for better airflow control in your Masterbuilt 800.
Instruction:
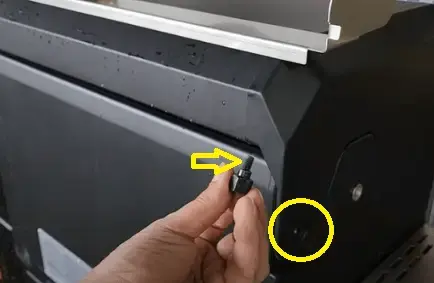
- Preparation: Begin by locating the screws on either side of the smoker’s top part, which is part of the control panel.
- Screw Removal: Using a 3/8-inch open-end wrench, carefully remove these screws.
- Vent Installation: With the screws removed, proceed to install the new vent, securing it in place with its provided screws..
Mod 4: Water Pan mod
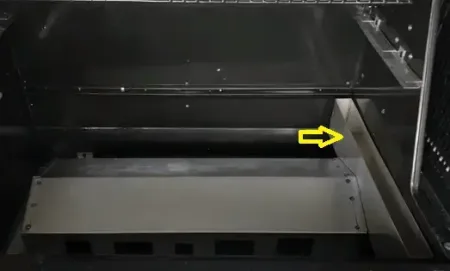
Simplifying with the Masterbuilt 800 Water Pan Modification For those looking to enhance the moisture level during smoking, the water pan mod is a straightforward addition to your Masterbuilt 800.
Instruction:
- No Hassle Installation: There’s no intricate setup or adjustments needed for this modification. Simply purchase a compatible water pan.
- Placement: Once you have your water pan, position it in its designated spot within the smoker.
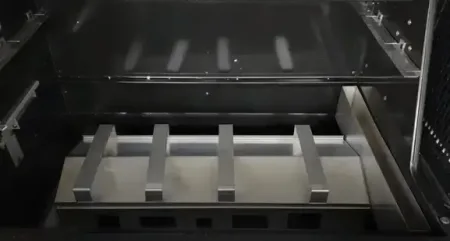
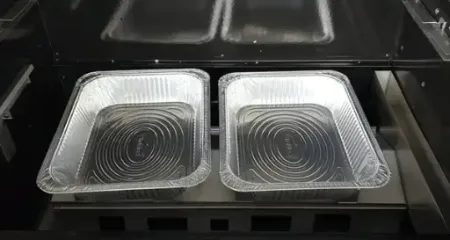
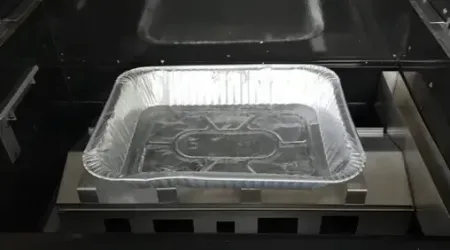
Mod 5: Masterbuilt 800 mods with Manifold Cover & Drip Catcher.
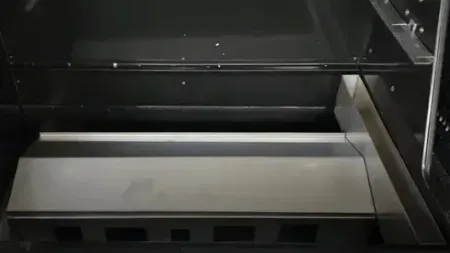
Enhancing the Masterbuilt 800 with a Manifold Cover & Drip Catcher Elevate your smoking experience by ensuring a cleaner and more efficient cooking process with the manifold cover and drip catcher modification.
Instruction:
- Hassle-Free Setup: The beauty of this modification is its simplicity. There’s no need for any drilling or complex adjustments.
- Manifold Cover Installation: Begin by positioning the manifold cover in its designated spot.
- Bracket Placement: Once the manifold cover is in place, set up the brackets designed to support the drip catcher.
- Effortless Cooking: With the drip pan in place, you can cook with ease. Whether it’s pork butts, brisket, ribs, or any other delicacy, the cooking grate is ready to handle it all without the mess.
Incase you are looking for Masterbuilt 1050 Mods? Check Here ..
Mod 6: Masterbuilt 800 Hopper cover mod
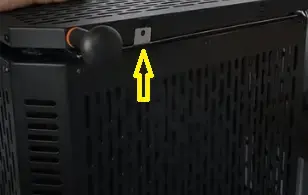
Streamlining the Masterbuilt 800 with a Hopper Cover Modification Enhance the efficiency and longevity of your Masterbuilt 800 with a protective hopper cover mod.
Instruction:
- Ready-Made Solution: The market offers ready-made hopper covers tailored for the Masterbuilt 800. Simply purchase and you’re good to go.
- Installation: It’s as straightforward as placing the cover beneath the hopper lid. No fuss, no complications.
- Customization Option: If you’re feeling inventive, you can also craft a custom cover. Visit a local hardware shop for assistance.
- DIY Guide: Opt for a flat piece made of a suitable material, matching the dimensions of the hopper’s mouth. Add a thin bracket on both sides, each with a hole, allowing you to securely attach it to the hopper lid.
# Overview of the Masterbuilt 800:
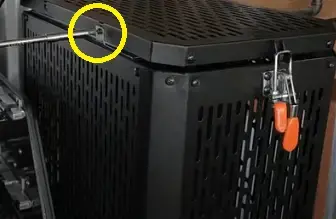
An In-Depth Look at the Masterbuilt 800 Gravity Smoker: The Masterbuilt 800 stands out as a top-tier gravity smoker, catering to both beginners and seasoned chefs with its array of features.
Key Features:
- Spacious Cooking Area: The Masterbuilt 800 boasts a generous cooking space, allowing you to prepare multiple dishes simultaneously.
- Versatile Cooking Racks: Not only does this smoker come equipped with several cooking racks, but it also features a griddle, adding to its versatility.
- Precision Temperature Control: With its dedicated temperature controller, maintaining a consistent cooking environment becomes a breeze.
User-Friendly Interface: The digital control panel on the Masterbuilt 800 is intuitive and easy to navigate. Adjusting cooking times and monitoring progress is straightforward and efficient.
Efficient Wood Chip Feeding: No need to disrupt the cooking process. The design allows for the addition of wood chips without having to open the main chamber, ensuring consistent heat and flavor.
Additional Noteworthy Features:
- Ease of use combined with robust, insulated construction.
- Delivers rich taste and flavor to every dish.
- Encourages culinary creativity with its adaptability to various cooking techniques.
FAQs
# Can I use pellets in the Masterbuilt 800?
The hopper of the Masterbuilt 800 Gravity Smoker is specifically designed to accommodate charcoal briquettes and wood chips, not pellets.
# How can I mount a griddle on the Masterbuilt 800?
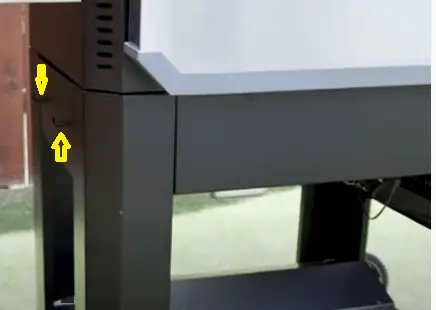
The controller of the Masterbuilt 800 features two hooks on its bottom right side. These hooks are intended for hanging grill grates, and you can conveniently hang the griddle there as well.
# How do I reset my Masterbuilt 800?
Resetting your Masterbuilt 800 is a straightforward process:
- First, power off your smoker.
- Disconnect it from its power source.
- Wait for about five minutes, then plug it back in.
- Your controller should now be reset.
# What’s the best way to clean the grates and griddle of my Masterbuilt 800?
Cleaning the Masterbuilt 800’s grates and griddle is simple:
- Activate your grill or smoker and set it to its maximum temperature. This will help burn off any residual food on the grates.
- Once the grates have cooled down, scrub them using a grill-safe brush.
- After cleaning, dry the grates and apply a layer of vegetable oil. This prevents rusting.
- The griddle, on the other hand, is less prone to food sticking compared to the grates. Therefore, there’s no need to heat it to the highest temperature for cleaning.
# Replacement Parts & Accessories for Masterbuilt Gravity Series 800
- Hopper Lid Latch
- Masterbuilt Fan Kit
- Digital Non-WiFi Controller
- Door Switch Kit Part 3-Piece
- Grill Cover
- Fire Starters
- Rotisserie
- Temperature Gauge Kit.
Recommended Reading:
– Masterbuilt 800 mods reddit
# Conclusion
You may smoke more with the Masterbuilt 800 upgrades.
Improve the cooking quality, smoke flow, and temperature management using these modification.
You can enjoy perfect smoked food by making a few changes like adjusting the vents for air flow and adding required pellets to the hopper.
Upgrade your cooking experience by following the given guidelines.

